Posts

Showing posts from March, 2018

Evaluation for Final Piece - Unit 7 Time

For my final piece I created a motion time-lapse which showed the movement of cars on a dual carriage way.  I searched online for other time-lapse that displayed movement in them as well as looked at other time-lapse that I have created for inspiration on what to capture and how to do so.  The practical skills I used for this were using a camera with a tripod as well as video editing software.  This has allowed me to create time-lapses faster as well as at a better quality.   The problem solving that I had to do was to think of how many shots I needed for how many seconds I needed as well as how long that would take to actually shoot with the 10 second intervals of each shot.  After the experimentation that I did I wrote up about what was good about it and what I needed to improve and why, which then enabled me to re-shoot and create a better, more professional final piece. In  conclusion, doing this project allowed me to be able to create a more professional time-lapse a

Lumen Pinhole

Image
To create this lumen pinhole image I used a cider can to house a single 5x7 sheet of photographic paper. I created the pin hole (hense the name pinhole) with an acupuncture needle as the needles tip is minute and yet strong enough to puncture a hole in the cans side to act as the lens of the can camera. Next you open the can at one end, as close to the rim of the top as possible being careful not to cut your hand on the can or with the tool you decide to use. After you have taken the top of the can off, you need to secure a circle of felt that is about 1-2cm bigger in diameter than the can itself so that it can help create a light proof seal. When placing the light sensitive photographic paper into the can it needs to be done in a dark room due the fact that any light exposed to the paper will result in ruining the paper as the image will just end up as a black over exposed image. Once the paper is in ensure no light gets to it, you then need to seal the end that you opened of the c

Digital 3D image - Final - Unit 6

Image
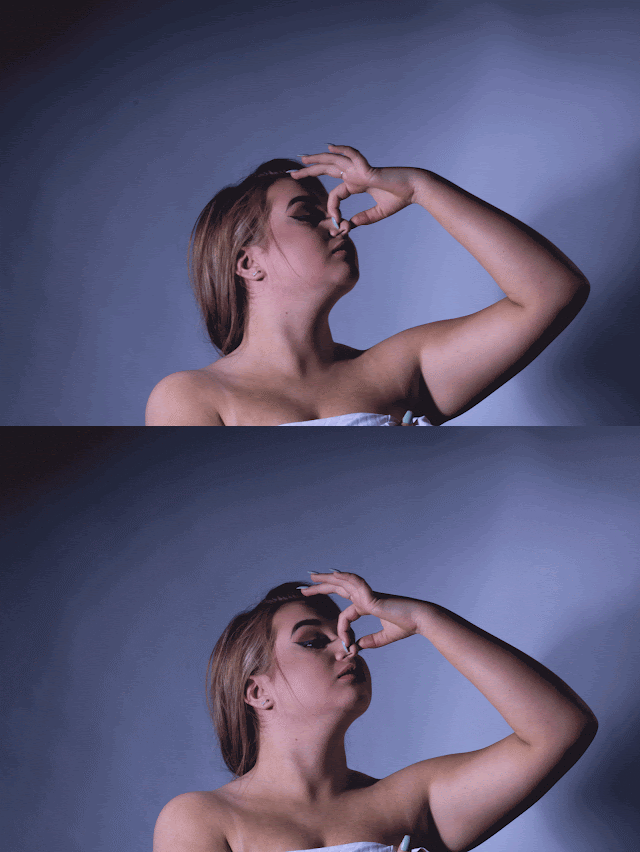
This gif consists of two images that are different that one another due to the slight change in positioning as one is more to the right that the other, resulting in a slight 3D effect. The two images are just on a loop from one to the other. This was achieved with a low amount of effort as all I needed to do was to move slightly to the right or left more and take another image, then stitch them together in photoshop and save as an animated gif. 

Fast shutter experimentation

Image
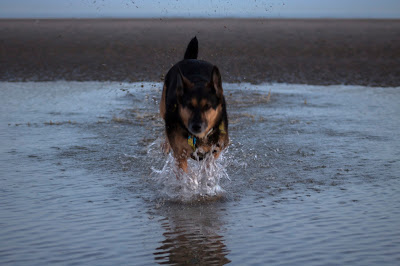
With these two images I experimented with capturing my dog running through water at a beach. Sadly the sun was going down and the lighting wasn't perfect but they still came out interestingly. To improve with this type of photography I would shoot at an earlier time where there is more light as well as using a faster shutter speed to capture the water slashing better.   This second image I like how I managed to capture my dog still even though I didn't capture the water still, which also shows the different speed of how fast my dog is moving compared to the water which is moving faster. The way I captured my dog mid-run also is similar to Eadweard Muybridge and how he captured a horses running style with high speed photography.

Final Piece - Motion Time lapse

I had previously created a time lapse of this location but it to me wasn't good enough due to a couple reasons, one being that it wasn't that long of a video, I wanted it to be a little bit longer. The other reason was that during shooting the the time lapse i had moved the camera while it was taking the images by accident, this resulted in the framing being different so in around the middle of it the shot jumps to a slightly different shot, which I was not happy with. So I resulted to re-shooting the images to create a new time lapse and this is what the end piece was. To create this time-lapse I used a sturdy tripod were I made sure that the legs and positioning of the camera was all locked into place after I had lined the shot that I wanted up with the camera. I used an Intervalometer or timer remote controller that simply plugs into your camera, I set the settings to end up taking a shot every 6 seconds after each exposure had completed as each shot was exposed for 4

LEGO Stop Motion

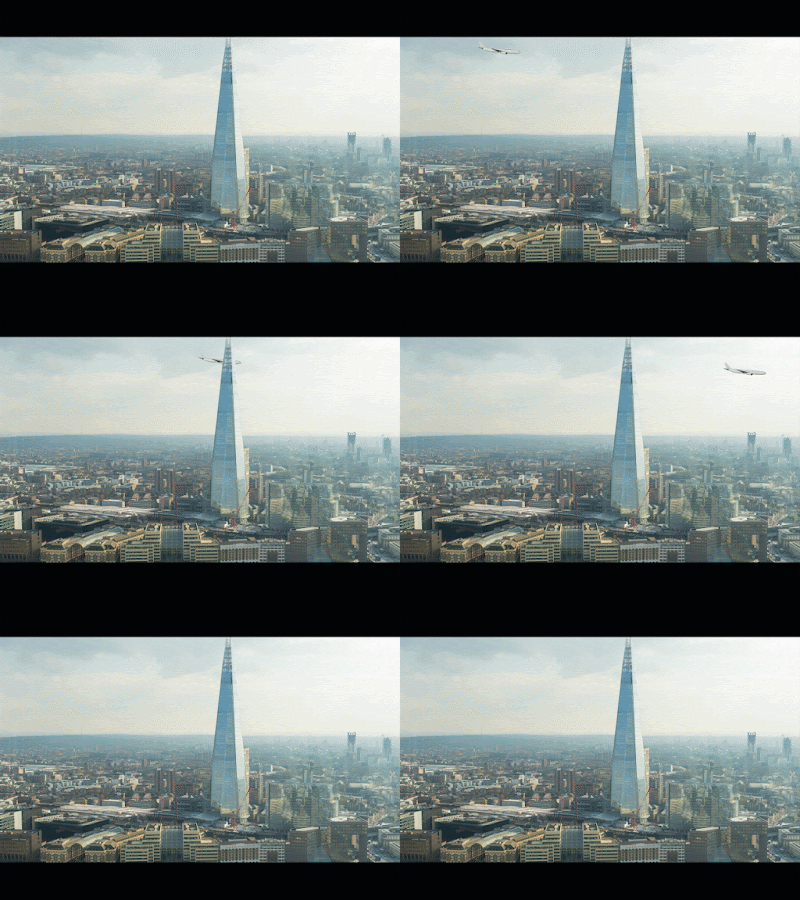
Plane passing past the shard

Image
The Gif version: The MP4 version: