Posts

Showing posts from October, 2017

Graphic design - 10/10/17
Image
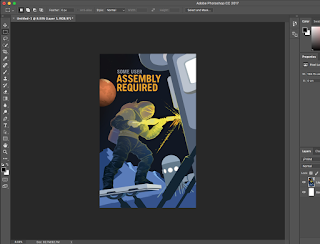
The design cycle - A client with will ask for a specific image that they want you to take, if they ask for you to capture the moment a glass shatters on the ground then you then are given a problem that you need to solve. So you would then figure out some ideas of how to do it, then you test it and see what is possibly needed to be tweaked and changed to accomplish this image that is desired. After that you will then take a look at what you have discovered and then you try and work from that and if you have enough time then you will reshoot the image if you can to finalise it and make it as best as possible. Golden Spiral Golden Ratio DPI for printing lowest resolution for printing is 72dpi 150dpi for newsprints 300dpi for high quality You can get different quality of images as they can have different resolutions but also different DPI. DPI stands for Dots Per Inch. There are different ratios that are used for poster, photos and other forms of medi...

Carousel Art and Design - 4/10/17

Today I had a lesson in art and design, we turned a piece of paper into a 3d object/structure by cutting and folding it in ways that resulted in it standing up. After we had folded and cut he paper and made a self standing object we then shone light onto the paper structure allowing the light to travel through, then we took photos of the structure in different ways, resulting in strange looking images. Materials The materials that we used consisted of paper, biro pens, HB pencil, chalk, charcoal and ink.  Processes I took a piece of paper that had patterns already on it as we had done them the other day, then I cut some slots into the paper and also folded it in different ways resulting in it being able to support itself standing up strait. After the paper was placed, cut and folded in a particular way that made it look interesting I then shone light through and at it causing shadows and different lines on the paper giving even more detail and different looks to the pa...

Developing film - 26/09/17

Image
Today I developed black and white film in the dark room using no light what so ever not even a slight red light like when you develop Photograms, so there is no chance of the film being exposed and ruining the images that I captured. being the first time developing the film it was a bit scary due to the fact that we had to take the film out of the container, cut it, place in a swirl holder to then place in the light tight container to then be able to develop the images, whilst all in complete darkness in a small tight room. I managed to successfully transfer the film to the light tight container fairly easily which made me then question whether or not I did it right, but I had done (thankfully). The most time consuming part was developing the film it self with all the specific amounts of developing fluid and water mix and rotating the container while the mixture was in the container every 30 seconds for 11 minutes straight. Then poring out the mixture and then poring in the 'stop...