Planning for final piece - Unit 6
ANALOG:
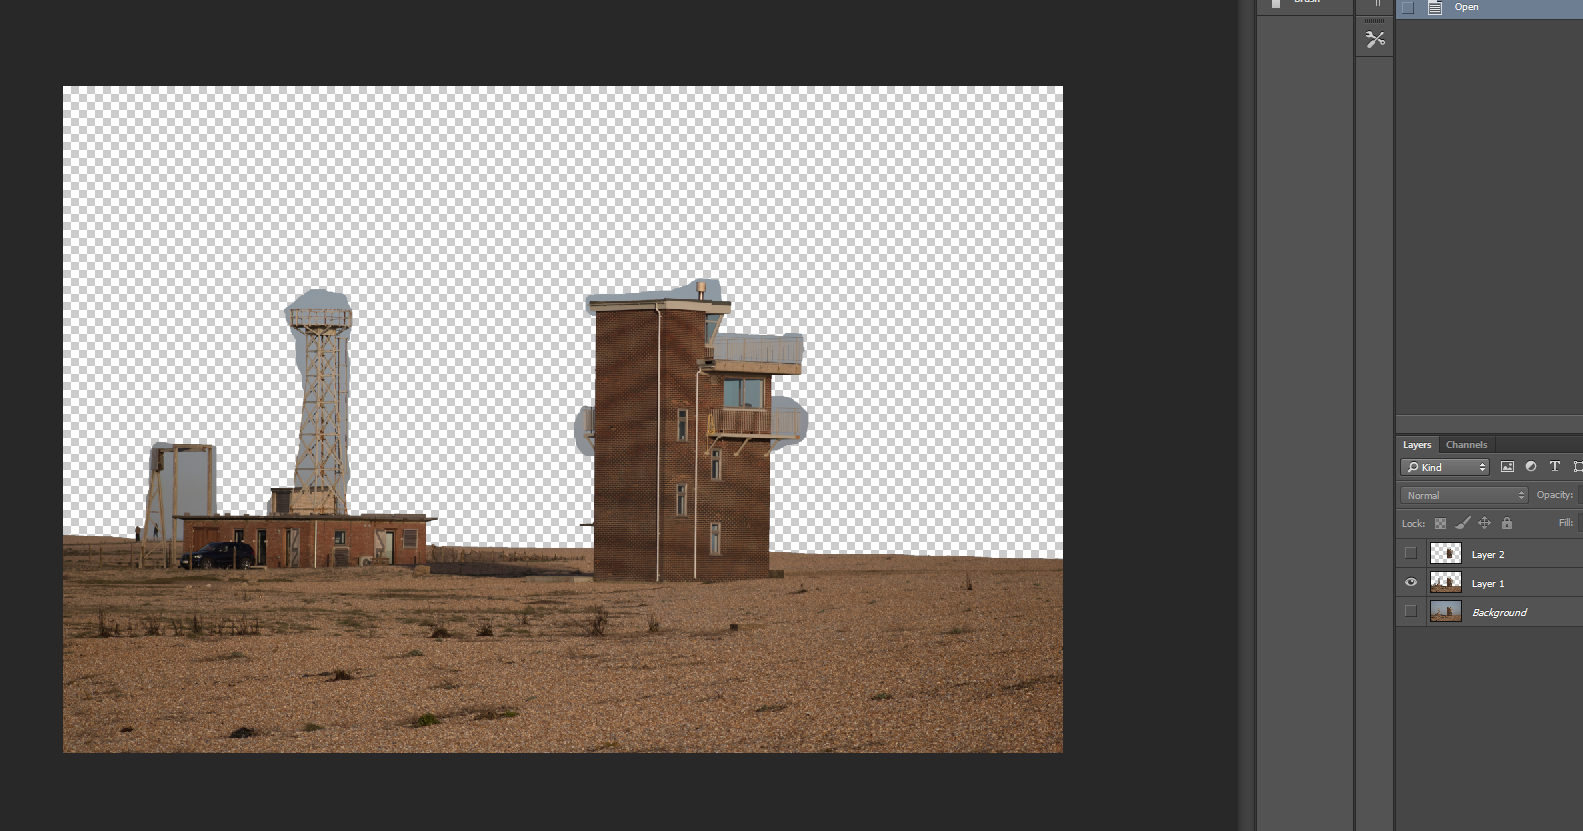
Using what I have learnt from the 3D analog test, I will be creating a more neater and planned out final piece. First I will start with the digital side by editing an image to have the separate images for the different layers. I will take the image and copy each segment of the image that I want as a layer and paste it as a new layer to then be able to print that separate layer. After I have edited the layers, I will print each layer off and then cut out the top and second layer as they are the only layers that will need to be cut out. Then I will mount each layer on foam board to create the depth and give the illusion of the building and ground a sense of physical presence. Finally I will then stick those three layers together so they are layered and then give the illusion.
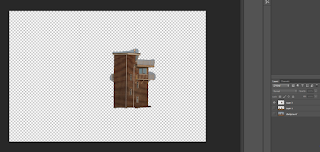
The top layer:
The second layer:

The background/bottom layer:

After creation brief summary:
Creating this had its easy parts but also its difficulties, one of the difficulties was cutting the images out and making sure to not cut too much away as well as too little away, with also keeping in mind that the cuts needed to be clean and give the effect desired. The editing of the images came with a bit of ease due to my skills with Photoshop being quite good, allowing me to then know what tools would work best as well as what techniques would be best applied.
DIGITAL:
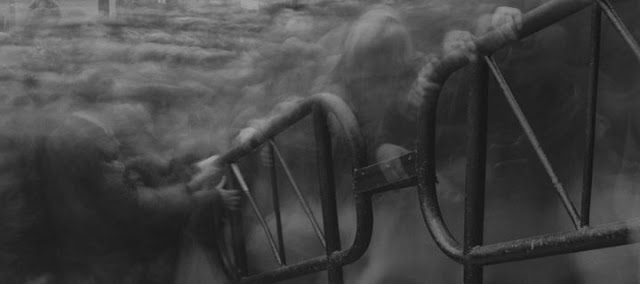
For the digital final piece I will create a gif using 2 images that are taken of the same subject in the same state but at a slightly different angle. Once the images have been taken I will then open those images in Photoshop and create an animated gif in the style of a wigglegram or stereograph like the ones I found in my research.
The end result:

Post-creation brief summary:
Taking into consideration of my Photoshop skills, this result came with fewer difficulties than other projects have done so. Editing the images to how I wanted them too look was fairly easy, the main issue was getting the timing correct for both frames, so that the image then gave the correct effect that I was going for. Eventually after trial and error the correct timings were figured out and the end piece was complete.
Using what I have learnt from the 3D analog test, I will be creating a more neater and planned out final piece. First I will start with the digital side by editing an image to have the separate images for the different layers. I will take the image and copy each segment of the image that I want as a layer and paste it as a new layer to then be able to print that separate layer. After I have edited the layers, I will print each layer off and then cut out the top and second layer as they are the only layers that will need to be cut out. Then I will mount each layer on foam board to create the depth and give the illusion of the building and ground a sense of physical presence. Finally I will then stick those three layers together so they are layered and then give the illusion.
The top layer:

The second layer:
The background/bottom layer:

After creation brief summary:
Creating this had its easy parts but also its difficulties, one of the difficulties was cutting the images out and making sure to not cut too much away as well as too little away, with also keeping in mind that the cuts needed to be clean and give the effect desired. The editing of the images came with a bit of ease due to my skills with Photoshop being quite good, allowing me to then know what tools would work best as well as what techniques would be best applied.
DIGITAL:
For the digital final piece I will create a gif using 2 images that are taken of the same subject in the same state but at a slightly different angle. Once the images have been taken I will then open those images in Photoshop and create an animated gif in the style of a wigglegram or stereograph like the ones I found in my research.
The end result:

Post-creation brief summary:
Taking into consideration of my Photoshop skills, this result came with fewer difficulties than other projects have done so. Editing the images to how I wanted them too look was fairly easy, the main issue was getting the timing correct for both frames, so that the image then gave the correct effect that I was going for. Eventually after trial and error the correct timings were figured out and the end piece was complete.


Comments
Post a Comment